Happy Monday my fellow scrappers! Hoot! Hoot! Who let the owls out?! LOL! You'll have to excuse my sad attempt at humor! But after a long weekend, it's all I could come up with. Tee Hee! Aymee Gandy from A Scraphappy Southernbelle, here on this beautiful day to share a quick project with you that I created this weekend . This was so simple to make and fun, fun, fun!
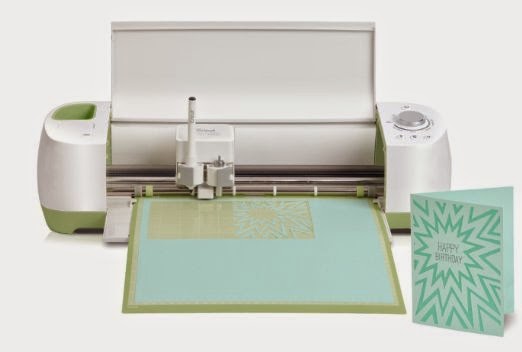
For this project I used my Cricut Expression, Cricut Gypsy, and the following cartridges:
1. Tags, Bags, Boxes, & More
2. Hoot N' Holler
3. Accent Essentials
The inspiration for this project came from my Mom. She teaches 5th grade at our local school. She is always telling me how she needs birthday cards to give to fellow teachers/students. So I thought....'hmmm, why don't I create a gift box filled with birthday cards for her to use at her leisure.' So that is what I did. My theme of owls came from the theme in her classroom. She has all sorts of adorable Cricut cut owls decorating her classroom. So I know this will fit right in. This gift box is holding 14 birthday cards.
To begin, I found this open box on Tags, Bags, Boxes, and More. I knew I wanted to cut it as big as possible, so I pulled out my Gypsy. This is one of the things I love about my Gypsy...I can see exactly how big I can cut things before I ever hit the cut button. The finished size of the box once put together is 6.5" x 4". It is 1" deep, which is great because it allowed me to fit so many cards inside. I used patterned papers from Die Cuts With A View (The Green Stack) for this project. This is an older stack of patterned paper, but I am still in love with it. I used cuts from the Hoot 'N Holler cartridge to decorate the front of the box. Here is my finished project:
As you can see below, I decided to use different colors of cards for that extra pop of color when you look inside the box. I used brown, cream, and lime green. I also attached 2 strips of ribbon to tie into a bow to keep the cards tucked inside and for 'a bit of pretty'...as my hubby would say.
To show the dimension of the box...
Here are what the cards inside look like:
I used the same design on all the cards, just changed up the patterned paper a bit.
Next one...
And another...
I used scraps on the inside for the strip of patterned paper. The flower and circle was cut from Accent Essentials. I stamped the sentiment on each card with a stamp from Hobby Lobby.
I just loved creating this project. I already have plans for another set as a gift!
I hope you have enjoyed this project and that it will inspire you to create a note card gift set of your own!
Have a 'hooty tooty' day! :)
Happy Scrappin'!!!


13 comments:
What a great idea...and they are just too cute.
Very nice gift! Love the owls & I'm sure she will, too.
Awesome job, and what a fabulous gift idea!!
Cindy
Oh this is adorable! Great colors and love the idea of this box without a drawer! Thanks for sharing!
hugs,
M
I just love your set of cards!
~Kim
This is such a GREAT project and WONDERFUL gift!!! Love the colors you chose and the box is just perfect with a the ribbon tied on it. Thanks for sharing with us today at Shes A Sassy Lady!
What are a great idea!
This is such a great gift idea! I love this!!! So glad I stopped by today!!!
I love this. Great idea! What is your youtube name so i can subscribe to your videos? Thanks!
Heather.dumond@maine.edu
Cute card set, and a great job!
Great project! Should be very much apprecicated!
Very nice card set!
Beautiful gift set idea!! Love that darling little owl!
Barb :)
Post a Comment